Friday, 12 April 2019

More Cruel Seas

Ian came around tonight and I introduced him to Cruel Seas.

We started off with the first scenario from the book as a learning exercise. Then we played a S-boat attack on a British convoy, 3 S-boats vs 2 Merchantmen and 2 armed trawlers.

Ian tried launching all his torpedoes in the same turn, with a crisscrossed spread hoping to catch one of the merchants, which he did. The trawlers did a lot of damage to one of the S-boats, almost sinking it, but the surviving merchant moved in their line of fire in order to avoid torpedoes.

The trawler narrowly avoided a collision and the S-boats escaped in the confusion.

 The convoy steam ahead.

 The S boats move up.

 A narrow escape!

Oh bugger!!

Once again, it was great fun to play, |i'm hving a lot of fun with these rules.

Thursday, 11 April 2019

Cruel Seas Mini Campaign

I had Henry and Colin over to play Cruel Seas today. As we had plenty of time I wanted to try out a mini campaign with two linked scenarios for a S-boat raid on a British coastal convoy. The first scenario would be the actual attack on the convoy by 4 x S-boats, the second would see the S-boats fighting their way past ambushing Fairmiles on their way home.

Scenario 1
The Germans are waiting with their engines switched off, just out of sight (off table) and enter along the E edge (long edge) at any point after turn 3.
The allies enter from the NW corner (within 30cm) and exit from the SW corner.

3 x Armed Trawlers
2 x Merchant ships
1 x Tanker
Each turn a Merchant ship plus escort enters the table.

The merchants move at combat speed (the escorts move to keep pace) until the S-boats are spotted (ie enter the table)

Between scenarios the S boats make spend 1 turn repairing damaged systems or restoring damage points.

Scenario 2
The Germans enter along the W edge (short edge) and need to exit from the E edge.
The allies enter from E edge.

2 x Fairmile D 

Victory Points
Merchant/Tanker sunk = +100 pts
Fairmile destroyed = +25 points
S boat destroyed = -50 points

Score 101 (or more) German Victory
1-100 Draw
0 (or less) British Victory

Some pictures from our game.

 The full convoy steams ahead.

 Their nemesis lie in wait.

 The S-boats start to close in.

 The escorts move up.

 Launching the first torpedoes.

 The situation at the end of turn 1.

 That's a lot of torpedoes!

 A gap appears in the defending screen as a trawler explodes and sinks below the surface.

 Another view of the incoming torpedoes.

 The second game, a Fairmile moves forward.

 The other dogboat comes in from the other side.

The surviving S-boats put on speed to try and outrun the Fairmiles.

We had great fun. In the first game the S-boats sunk a trawler and two merchantmen, but lost two boats themselves. With one of them badly damaged, they decided to cut their losses, rather than pursue the last merchant. Especially as the two surviving trawlers were dropping 3 pounder shells all around them!

In the second game the S-boats ganged up on one of the Fairmiles, charging forward a full speed hoping to rush past the dogboat before the second boat could bring all it's guns into range. They badly damaged the Fairmile, almost sinking it (the British gunnery was pretty appealing in this game, not a patch on the expert shooting displayed by the trawlers). One of the S-boats escaped safely, but the other had it's rudder damaged and careered of the table from the southern edge. As the S-boat had not escaped from the eastern edge, but had not been destroyed, we decided to call it a 25 point loss for the Germans.

The end result was +75 VPs to the Germans, so a draw overall.
 .

Tuesday, 9 April 2019

A New Ship!

I have added a new vessel to my British fleet, an armed Isles Trawler with a 3 pounder gun and two twin 20mm. It is my first 3D printed model, from this chap https://www.magpiedesigner.com/.
I haven't really had much experience of 3D printing and I was pleasantly surprised. It's a nice model, perfectly adequate for my standard of painting, and will look fine on the table. It isn't as crisply detailed as the Warlord plastics or Heroics and Ros resin, but then again it's half the price of the Warlord trawler or the upcoming H&R ship! My only gripe was it comes with two masts, but the hole for the rearward mast was filled in. Because it's situated between the funnel and the superstructure the gap was too small for me to fit a drill in to re-drill the hole, so my ship will only have one mast. I'm sure I'll find a use for the other one sometime.

Here are some before and after pictures, I needed to get it ready quickly for her first outing on Thursday.

As it comes out of the packet.


The finished model.

And with a Warlord Vosper for scale.

Saturday, 6 April 2019

Cruel Seas Convoy

I had Mark over for a game of Cruel Seas, to give my new ships an outing. I'd come up with a scenario for a S-boat attack on a British convoy. We had great fun!

Mark had the 4 S-boats and I had the convoy of 2 merchantmen and a tanker, escorted by 2 armed trawlers. I also had a Fairmile D bringing up the rear of the convoy. On turn 1 the S-boats arrived and a merchant man and a trawler entered the table, turn 2 the tanker and a trawler came on and turn 3 the last merchantmen entered torpedo alley. On turn 4 the Fairmile would turn up like the 7th Cavalry!

It started well for the Germans, they got two torpedoes in the water lined up on the first merchantman and shot up the trawler with two S-boats. For the first two turns my trawlers' gunnery was appaling and I didn't score a single hit. Then, literally just before it slipped beneath the waves (it had 2 damage points left!), one on my trawlers got their eye in and hit one of the S-boats and took it's rudder out. The other trawler hit a second S-boat with both of it's 3 pounders, blowing some very big holes in that.

The first merchant dodged the torpedoes, but the tanker captain wasn't so lucky with the two aimed at him, he avoided the first but too a fairly central hit with the other. The tanker remained afloat after the explosion, but only just, and was quickly sunk by close range gunfire, but almost took out a S-boat in the process. With only one escort left in play two S-boats concentrated their guns at close range on the merchantmen, eventually taking him out. But now the Fairmile arrived and a badly shot-up S-boat captain found himself looking down the barrels of most of her guns, scratch one S-boat!

The last merchant came on to see 3 fish heading her way, so steamed straight ahead at full speed, hoping to get out of their path. In the end she managed it, just (had a German dice been pulled before she move a second time she would have taken two torpedo hits). In the meantime the fairmile finished off a second S-boat and the one with damaged steering left the table (whether Mark wanted her to or not!). At this point Mark's last boat decided to call it a day and legged it. He had lost 2 S-boats, but sunk a merchantman and a tanker, as well as one of the escorts, so we considered that a German win.
Some shots of the game.
 The tanker and armed trawler enter the fray.

 A S-boat fires two torps.

A S-boat slips between the gap (there had been a trawler the other side of him) and finishes off the trawler at close range.

 Things are getting crowded, watch out for that......

 ....tanker. Opps!!!

 A hit! But a dud this time.

 The Fairmile races up in support of the trawler.

A S-boat gets in close to the merchantman to finish him off.

Friday, 29 March 2019

Cruel Seas

I've really been bitten by the Cruel Seas bug and (surprisingly for me) cracked on with painting the boats that come in the starter set in record time.

4 S-boats....
 ...and 6 Vospers.


Then I started looking around for some extra ships. You can get a whole range of really nice ships from Warlord, but I thought I'd try to find some that were a bit cheaper. There's a guy selling some mdf ships on Ebay, granted they are not as pretty as the Warlord models, but at about a fiver each they are a good deal for what are essentially torpedo targets!
I picked up half a dozen assorted merchantmen and armed trawlers ready painted on Ebay for a bargain price.

The merchantmen....
 ....and the armed trawlers, I left two as they came...
...and converted one to a Vorpostenboot with some 6mm guns.
Then to boost up my British firepower I got two Fairmile Ds from Heroics and Ros. They are very nice resin castings, which are a really good deal at £5.50 each.


Thursday, 21 February 2019

10mm AVBCW Scenario with BKC

I had two of my gaming mates over for another AVBCW game the other day. Colin defended with the Socialist Workers, whilst Henry and I attacked with the BUF/Royalist (aided by a German contingent).

NOVEMBER 1938

Elements of the Social Workers Army have been carrying out harassing raids against the British Union of Fascist and Government forces in this area.
One such raiding force has been tracked down to the village of Nether Wallop, and a two-pronged assault has been launched against them. Support by regular German Legion forces, the BUF militia have been ordered to clear the “Reds” out of the village.

Warned by local sympathisers of the coming assault the SWA column have sent out a desperate plea for help to their comrades and reinforcements is on its way.

The BUF and German Legion deploy along the Southern table edge within 40cm of the SW corner. The other Royalist militia deploy anywhere along the Western table edge.

The SWA reinforcements enter along the Northern table edge in turn 3.

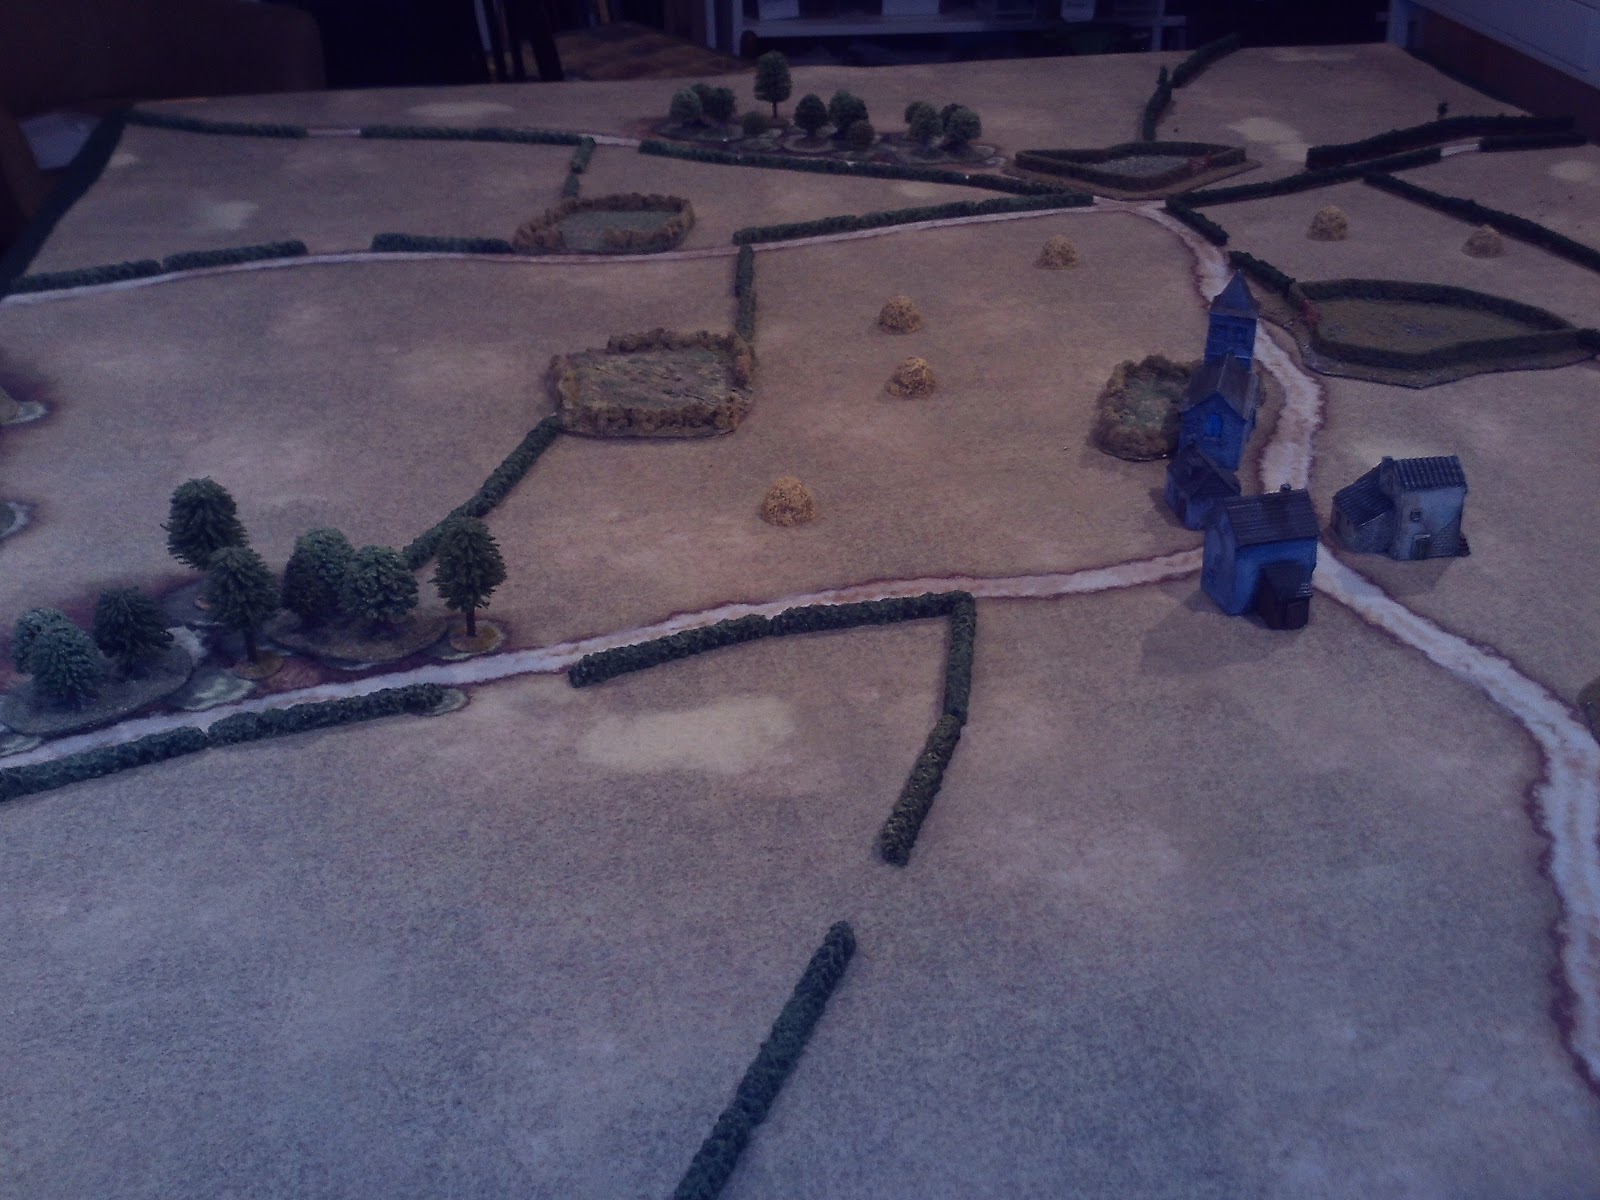
The table viewed from the South. The Germans and BUF would enter from the SW corner and the rest of the Royalists along the West edge.

The view from the North. The Socialist reinforcements would enter along this side.

Socialist forces deployed in the village.

The Germans advance on the flank, led by their armour. Their job was to clear the hedgerows to the South of the village, then swing around behind the village whilst the Royal militia launched a frontal assault. I decided to play aggressively with these guys, assuming they were battle hardened veterans of the Spanish conflict. I rushed them up close using the armour to cover the infantry moving forward, until they were near enough to close assault in the next initiative phase. It was a bit of a gamble as I knew the Socialists had some anti-tank assault teams (nutters with bundles of dynamite), which would have made a mess of my puny Panzer Is and IIs, but luckily they were deployed in the village itself. To the right you can see the BUF militia who have just dismounted from their horses behind the hedge.

Royalist militia advancing, supported by a couple of Vickers Mk II tanks. The nearest unit is made up of police volunteers.

The Socialist reinforcements arrive and debus. They are supported by two horse-draw 75mm howitzers and two Vickers type E tanks, armed with 47mm cannon. Seeing some of the Royalist militia strung out in the open was too much for Colin, who stopped to try and catch them in the flank instead of pressing on to relieve the village.

Seeing the mass of Reds on their flank, the Royalist militia frantically try to get into cover behind the hedge.

Trying to block the advance of the Socialists the Royalist armoured cars allow the infantry to get too close and are charged in the flank. Now you see him.....

....and now you don't. Henry learned the hard way that armoured cars are not suited to taking infantry on at close quarters.

The Germans start to turn the flank. having taken out the militia immediately in front of them, the German infantry are about to jump the hedge and start to roll up the defenders. Just behind the tanks you can see the BUF who have moved up in support. Unfortunately I now failed to activate them for about 4 turns which allows them to be whittled away by flanking fire from the defenders in the village. Still while they were potting the Blackshirts they were not shooting at the Germans, who turned out to be the real threat.

Blunder! A Socialist machine gun and an infantry unit rush out into the open. Colin made the foolish comment that we hadn't had any blunders at lunchtime, he should know better. I think he proceeded to roll half a dozen during the afternoon!

The Germans press on, once they had taken out the last two stands the path was clear to get in position behind the village defenders. Most of the Socialists in the buildings were occupied fighting off a frontal attack by the Royalist militia so unable to respond to the Nazi threat.

In the meantime, the Reds reinforcements were effectively pinned down close to the Northern edge, engaged in ineffective long range sniping with the Royalist tanks and their supporting infantry.

The end is nigh! German infantry enter the village, storming the first house. The BUF had finally got going and just stormed the house immediately to the German's left. In the right of the picture you can see the front track of one of the Panzer IIs, who are about to swing around behind the church and pour fire into the defenders.

By the end of the next turn the Socialists were down to 1 stand left in the village and had exceeded their break point, so we called it a day with a Royalist victory. The two deciding factors were probably my aggressive use of the Germans with their light armour and Colin's decision to attack the flank of the Royalist line rather than pressing on to support the garrison in the village. It was very tempting when he caught Henry's militia in the open, but after inflicting a few casualties initially, they didn't play any significant role in the rest of the battle. Of course not helped by all the blunders Colin rolled in the later stages of the game!